
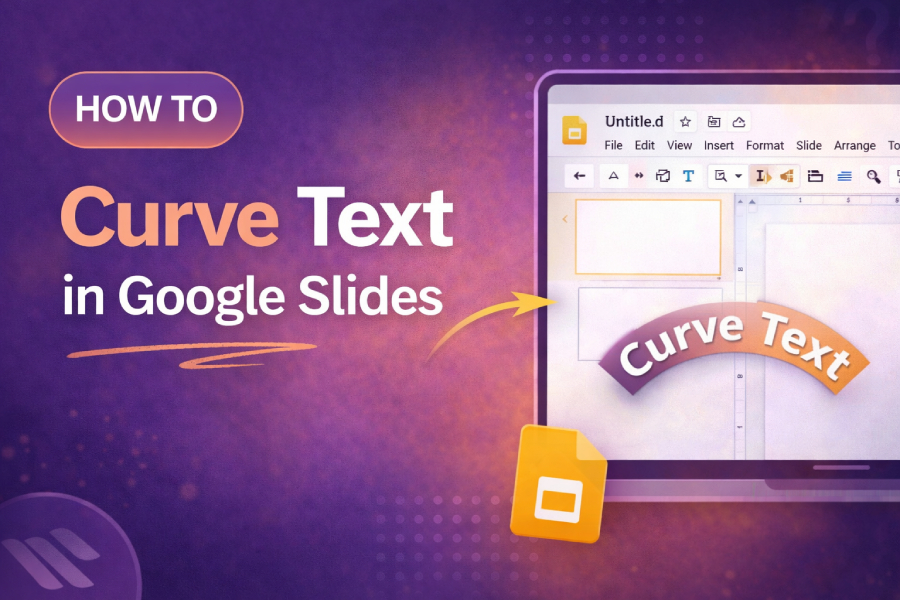
Creating visually appealing text in your presentations is crucial for grabbing your audience’s attention. One powerful way to enhance your slides is by curving the text. In Google Slides, although the platform doesn’t have a built-in text-warping tool, there are creative workarounds that can help you bend your text into curves.
Whether you’re looking to style headings or make certain elements stand out, this guide will help you learn how to curve text in Google Slides with simple methods that anyone can follow. Keep reading to explore various techniques, tips, and external tools you can use to achieve perfect curved text effects.
Why Curving Text in Google Slides is Beneficial
Curved text in Google Slides can make your presentation stand out with a more dynamic, engaging look. It’s particularly useful for creating titles, slogans, and eye-catching headers. Adding a curved text effect breaks away from traditional straight lines and introduces a creative twist to your slide content. If you’re presenting a logo, adding a curve can emphasize its design in a more striking way.
Plus, it can be used for decorative purposes in projects that require a more professional or artistic style. By learning how to curve text in Google Slides, you’ll be able to bring your design ideas to life without needing expensive design software.
You can easily experiment with different styles of curved text using external tools such as free weird text generator, which allows you to manipulate text into fun shapes. This tool is especially helpful for creating unique designs that will enhance your slides and presentations. With the right technique, you can make any presentation more visually appealing and professional.
Methods for Curving Text in Google Slides
Using the Word Art Tool in Google Slides
One of the easiest ways to create curved text in Google Slides is by using the Word Art tool. This method doesn’t involve any complicated steps, and it’s great for creating basic curved effects. Start by opening your presentation and selecting the “Insert” tab. From there, click on “Word Art” and type in your text. Once inserted, you can resize and adjust the shape of the text box. While this method doesn’t technically warp text, you can manually rotate individual letters to form a curved effect.
You can take this a step further by using shapes, lines, and grids to adjust the curvature of your text. When using the Word Art tool, choose a bold, simple font, as it works best with curving techniques. However, be mindful of spacing and text overlap to keep your design clean.
If you’re looking for more sophisticated ways to design and manipulate your text, you can use the “how to make distorted text” technique for creative text styling. This will allow you to explore additional methods for bending or distorting the text to add an artistic flair to your presentation.
Using Google Drawings for Curved Text
Another effective method for curving text in Google Slides is using Google Drawings. Google Drawings offers more flexibility in terms of customizing text, allowing you to manipulate and adjust text along different shapes or paths. To use this method, go to “Insert” and select “Drawing,” then choose “New.” Once in the drawing canvas, select the text tool and type in your text.
Google Drawings allows you to create custom shapes that can hold your text. Once you’ve curved your text to your liking, save it as an image and insert it back into your slide. This method can be a bit more time-consuming, but it provides greater control over the final output, ensuring a more professional result.
For those who are interested in more ways to create specialized text styles, you can explore the how to make weird text to expand your design capabilities. This will allow you to experiment with different kinds of text distortions to incorporate into your Google Slides presentations.
Leveraging External Tools for Professional Curved Text
While Google Slides offers some basic text-curve functionality, external design tools can deliver more professional results. Tools such as Canva, MockoFun, and PowerPoint can be used to create curved text that can be imported into your Google Slides presentations. These external platforms provide more text-manipulation options, such as adjusting the curve, font style, and size, giving you a polished, refined look.
Once you’ve created your text in an external tool, simply download the text as an image (preferably in PNG format for transparency) and insert it into your Google Slides. This method provides high-quality, crisp text curves that will stand out in your presentation. Additionally, importing text from external tools saves time and allows for more creative possibilities.
For a detailed guide on using external resources like Canva, check out how to add squiggly line over n, which explores unique text enhancements that can be applied to your Google Slides. These resources help you expand your design options without requiring advanced design skills.
Creating Curved Text Using PowerPoint
If you’re familiar with Microsoft PowerPoint, you can take advantage of its built-in text-warping feature to create curved text. After curving the text in PowerPoint, you can copy the text and paste it directly into your Google Slides presentation. While this method works well for simple curved text, be aware that you may lose some formatting when transferring the content.
PowerPoint also offers greater control over the curvature of text, allowing you to adjust the bend to suit your needs. If you plan to use this method, it is best to save your text as an image to maintain its integrity across different platforms.
Using a Google Apps Script for Advanced Users
For tech-savvy users, a Google Apps Script can be written to automatically bend text in Google Slides. Using JavaScript and Google’s API, users can create a custom script that handles text curvature for them. This method is a bit more complex and requires knowledge of coding but can be very effective if you’re creating multiple slides with curved text.
Once the script is set up, you can apply the curvature to your text and tweak the parameters to adjust the bend to your liking. If you’re looking for additional resources to help you with the setup process, consider visiting why is my keyboard typing random letters to explore common script-related issues.
Troubleshooting Curved Text in Google Slides
While curving text in Google Slides, you may encounter a few challenges, such as blurry text, text distortion, or alignment issues. One way to address these problems is to adjust the resolution of the images you insert and ensure that the text fits well within the confines of the slide.
Another common problem is text overlap, which can occur when rotating individual letters too tightly. To resolve this, ensure that there is enough spacing between the characters, especially if you are manually curving text using shapes or rotating text boxes.
For tips on how to avoid these issues, the what is the weirdest font article can provide additional ideas on font styles that will help reduce blurring or distortion in your curved text.
Conclusion
Learning how to curve text in Google Slides can significantly enhance the look and feel of your presentations. By experimenting with different methods, from Word Art to using Google Drawings or external tools, you can achieve a variety of creative effects. While some methods are simpler, others offer more professional and customizable results. Using external tools like Canva or PowerPoint can give you more flexibility, while Google Drawings allows you to maintain full control over your design.
Remember that proper text alignment and spacing are key to ensuring that your curved text looks sharp and clean. With these tips, you can easily create eye-catching presentations that will leave a lasting impression on your audience.
By incorporating these techniques into your next presentation, you can elevate your design skills and make your slides more visually dynamic and engaging.